Translation notice
This page was translated with machine translation and may contain inaccuracies. If you can help improve it, please open an issue or submit a pull request.
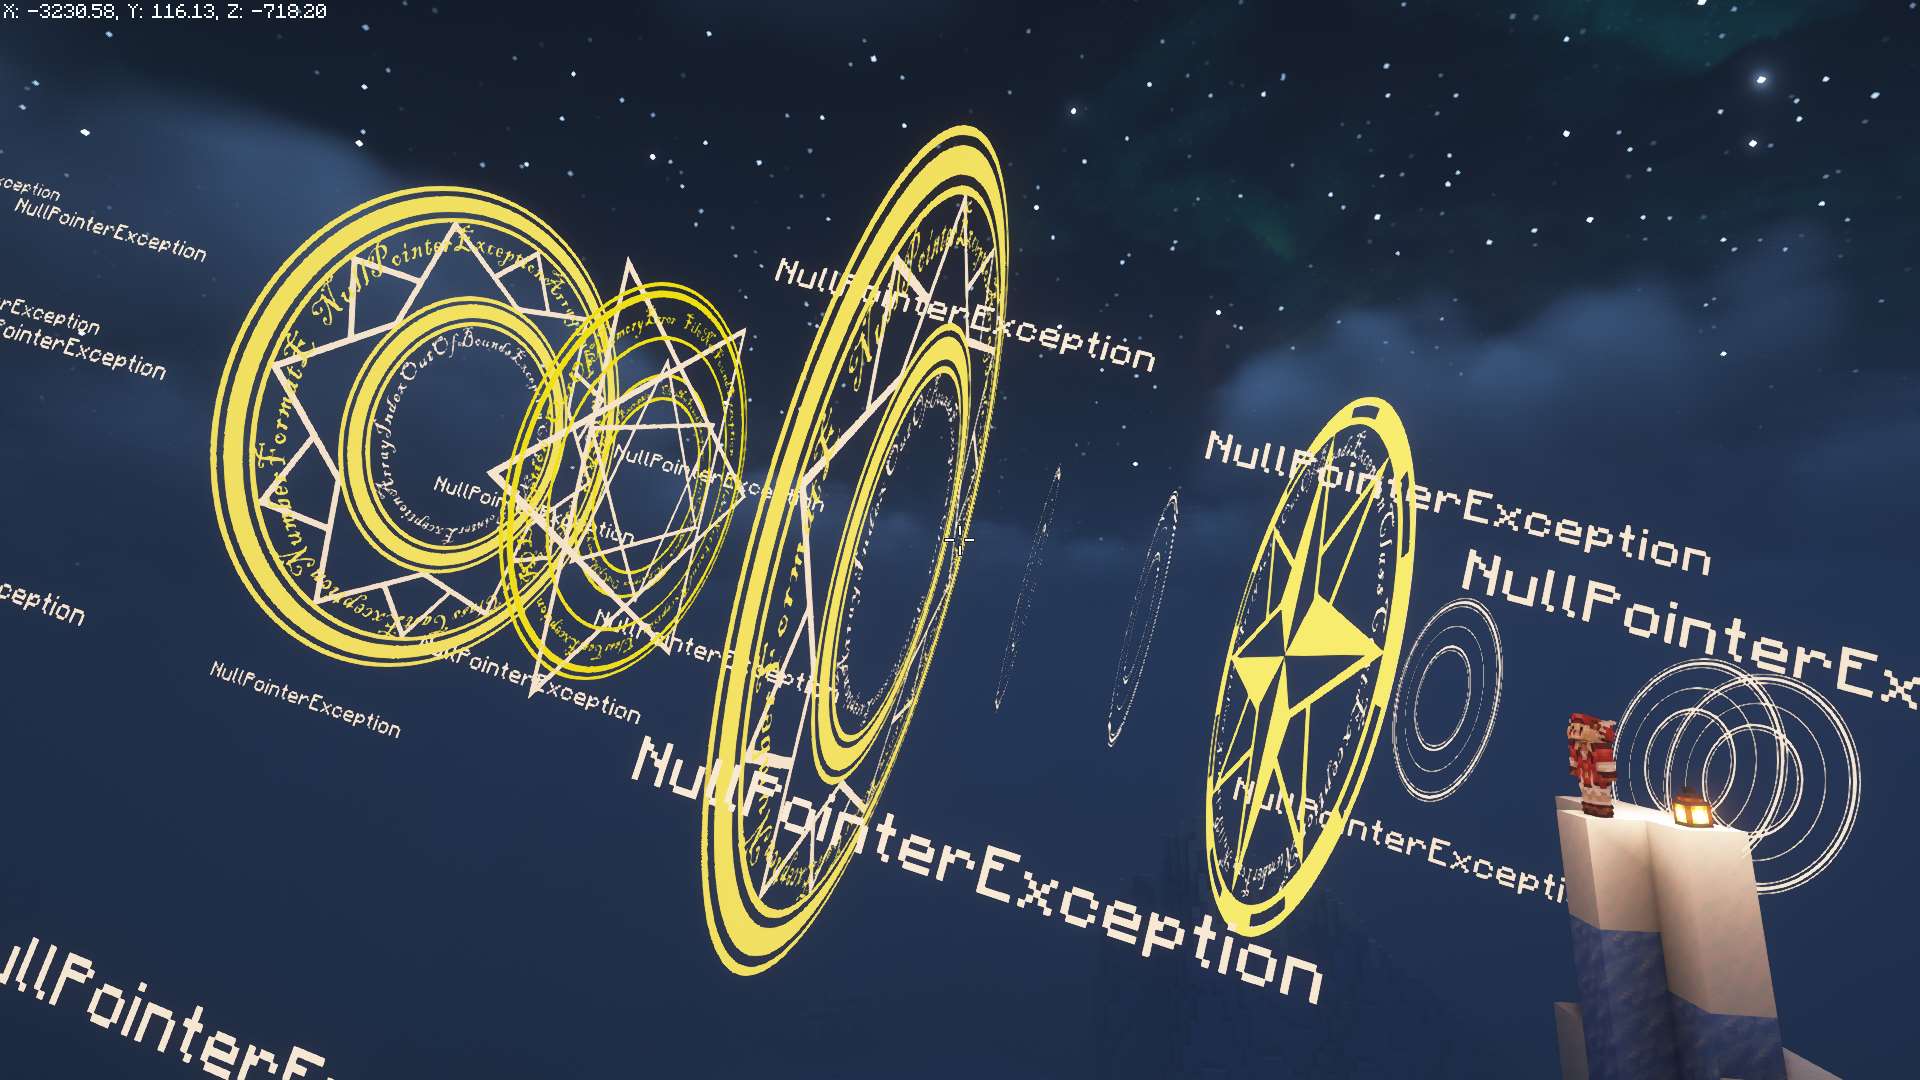
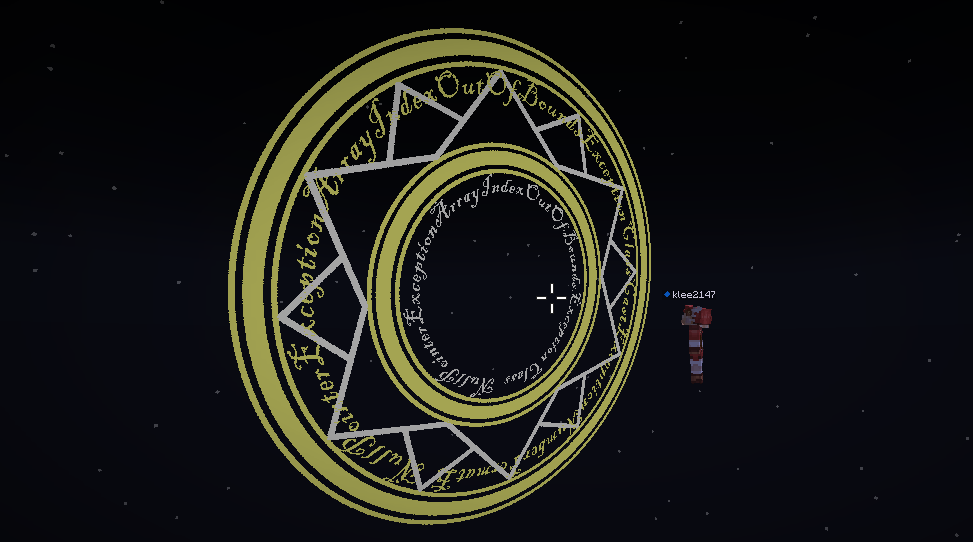
A magic circle based on displaying entities
This project aims to create various array effects through simple function calls
APIfunction
sklibs:skmagic/new
Create a magic circle
The executor will be the holder of the new magic circle. If the executor already holds the magic circle, the new magic circle will replace the original magic circle\

config:root tag
elements:The layers contained in this array(list element)
id:(optional, this item defaults to the value of model) Layer IDmodel:The model of this layercolor:The rendering color of the model. The three values in the list represent the RGB channels respectively. Use the color converter to calculate the color.
distance:The distance between this layer and the player's eyessize:The scaling factor of this layerrotate_step:(optional) Rotation step, for example [10,3.14] means rotation of 3.14 radians every 10 ticks. If this item is not specified, there will be no rotation.rotate_phase:(optional, default is 0) initial phase
sklibs:skmagic/modify
Modify the properties of the array
The properties of the magic circle held by the executor will be modified. If the executor does not hold the magic circle, this function will not work\
config:root tagid:Target layer ID, apply the following transformation to all layers with this IDsize:Zoom factordistance:The distance from the player's eyes
duration:Interpolation time
sklibs:skmagic/modify2
Modify the properties of the array in batches
The attributes of the magic circle held by the executor will be modified in batches. If the executor does not hold the magic circle, this function will not work\
config:root tagmodify:Modify list(list element)id:Target layer ID, apply the following transformation to all layers with this IDsize:Zoom factordistance:The distance from the player's eyesduration:Interpolation time
sklibs:skmagic/insert
Add a new layer to the array
Adds a new layer to the magic circle held by the executor. If the executor does not hold the magic circle, this function will not work
The parameter format is the same as sklibs:skmagic/new\
config:root tagelements:The layers contained in this array(list element)id:(optional, this item defaults to the value of model) Layer IDmodel:The model of this layercolor:The rendering color of the model. The three values in the list represent the RGB channels respectively. Use Color Converter calculate colordistance:The distance between this layer and the player's eyessize:The scaling factor of this layerrotate_step:(optional) Rotation step, for example [10,3.14] means rotation of 3.14 radians every 10 ticks. If this item is not specified, there will be no rotation.rotate_phase:(optional, default is 0) initial phase
sklibs:skmagic/remove
Remove the magic circle held by the function executor
no parameters
sklibs:skmagic/danmaku
Launch barrage
Launch a specified number of barrages in the direction the executor is facing\
config:root tagn:The number of barrages
color converter
Quick experience
Quick experience**demo video** the magic circle Execute this function in the chat box to open the menu
/function sklibs:skmagic/demo/menu
Make your own magic circle
A picture to understand the entire process below
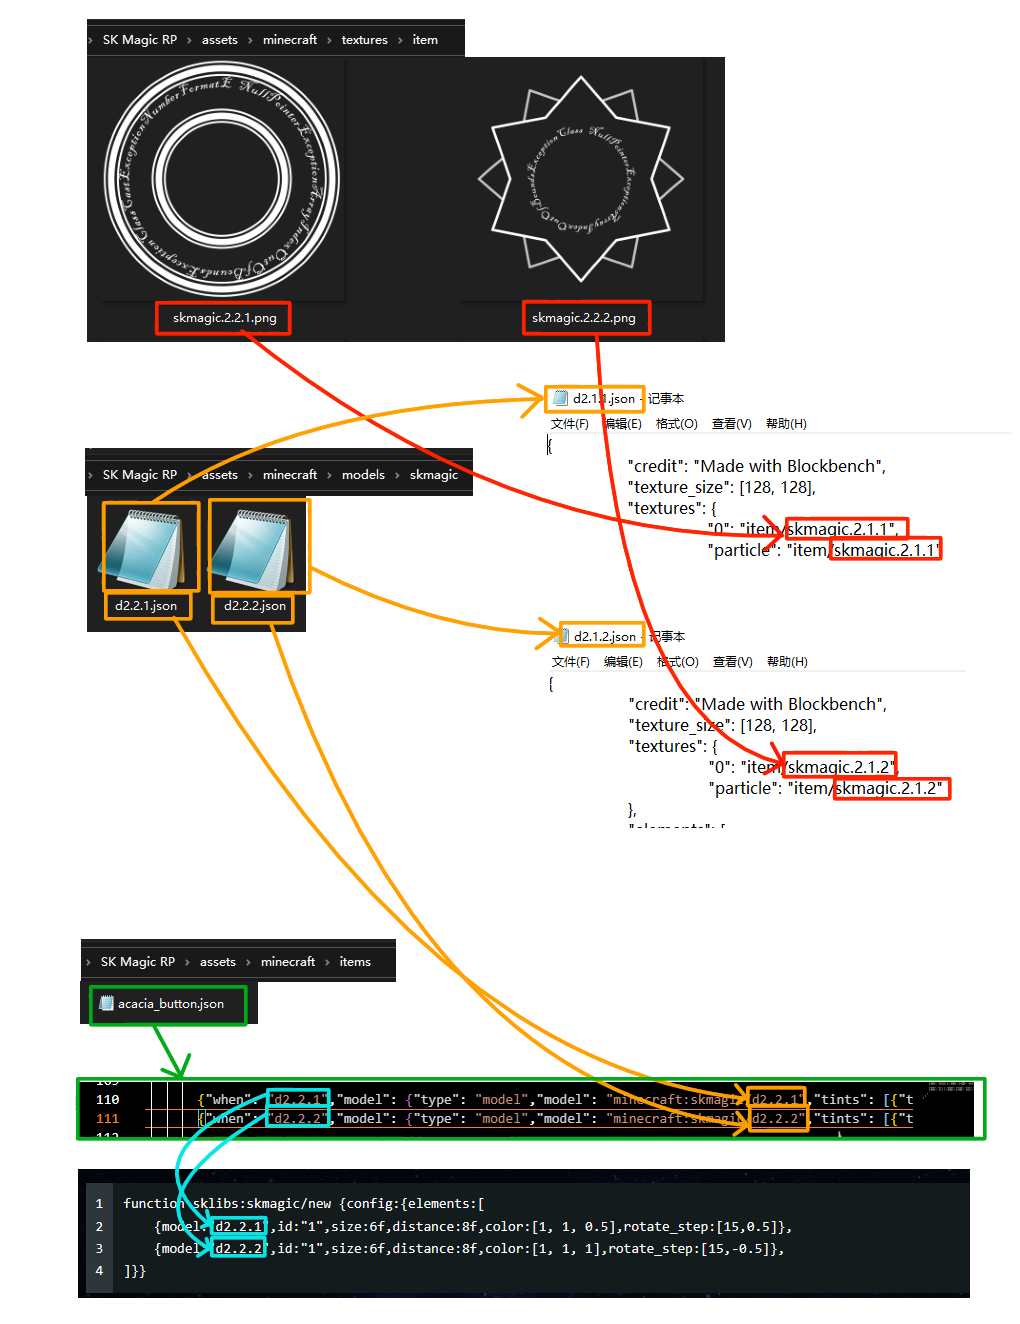
Download**resource pack** and extract it to.minecraft/resourcepacksUnder the folder, this resource pack stores some textures and models that have been made. Now we will make new textures and models based on it.
To draw textures, you can use PhotoShop to draw them. You need to pay attention to the following points:
- Image should be square
- The drawn pattern should be white to facilitate subsequent coloring
- Keep areas other than the pattern transparent
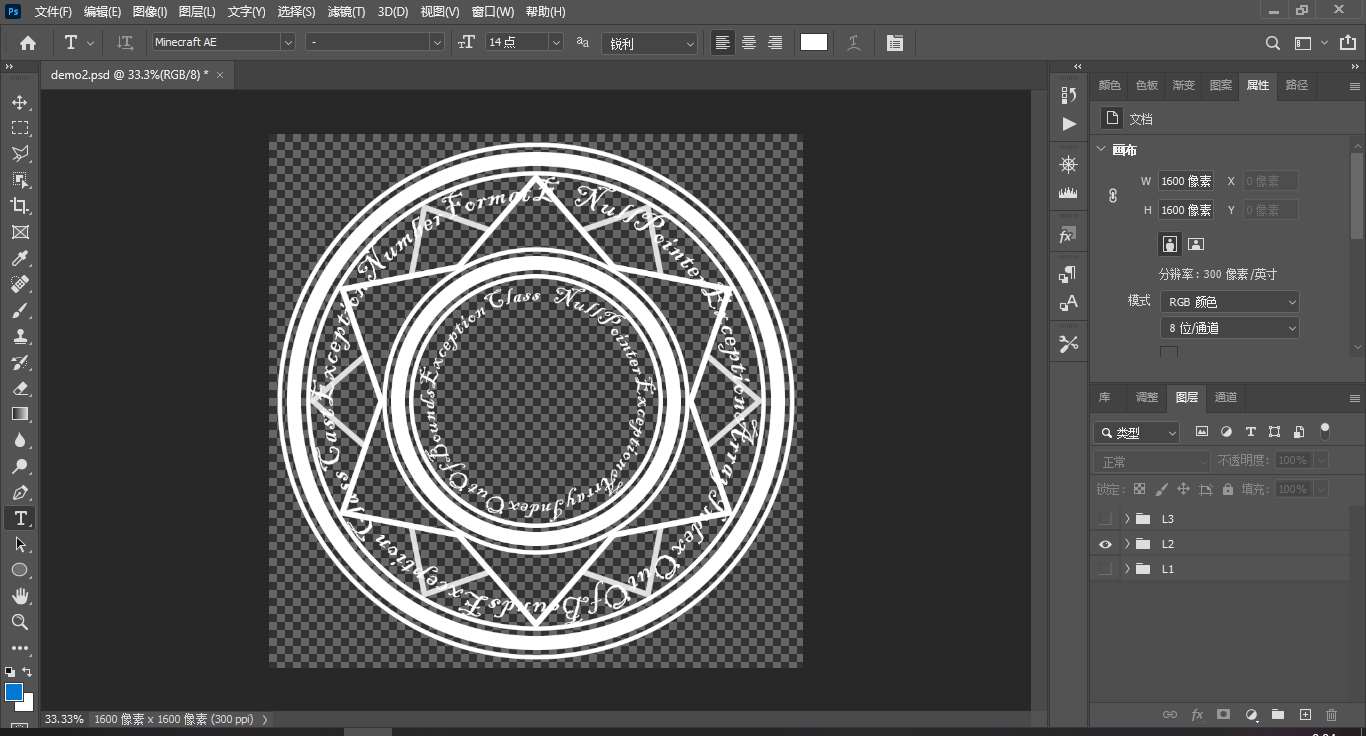
Export the drawn texture in layers, because the array needs to be rotated, and we want each layer to have a different rotation speed. There is no limit to how many layers are needed. The demonstration here only shows two layers.
- Export images to
(资源包)/assets/minecraft/textures/itemunder folder - File name is arbitrary
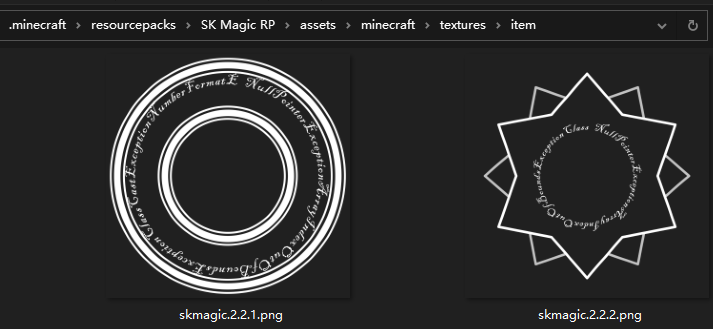
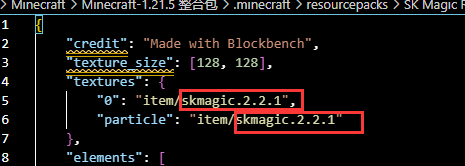
Then you need to make a model come(资源包)/assets/minecraft/models/skmagicfolder, finddemo.jsonMake a copy with any file name. Open the newly copied json file and fill in the file name of the texture file you just made. Note that the file name here does not have a .png suffix, as shown in the figure.
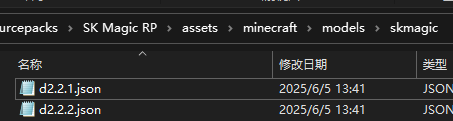
If your texture file is divided into many layers, each layer needs to create a separate model file. The texture just now has two layers, and you need two model files, as shown in the figure.
Next you need to add item model mapping Open(资源包)/assets/minecraft/items/acacia_button.jsonAdd the following content, as shown in the figure. The red box specifies the file name of the model file. No .json suffix is required. The green box is the "call name" of the model. You can call the corresponding model file through this name.

        {"when": "d2.2.1","model": {"type": "model","model": "minecraft:skmagic/d2.2.1","tints": [{"type": "dye","default": [0,0,0]}]}},
        {"when": "d2.2.2","model": {"type": "model","model": "minecraft:skmagic/d2.2.2","tints": [{"type": "dye","default": [0,0,0]}]}}
Finally just callsklibs:skmagic/newfunction and you can see the effect
function sklibs:skmagic/new {config:{elements:[
    {model:"d2.2.1",id:"1",size:6f,distance:8f,color:[1, 1, 0.5],rotate_step:[15,0.5]},
    {model:"d2.2.2",id:"1",size:6f,distance:8f,color:[1, 1, 1],rotate_step:[15,-0.5]},
]}}